Fast Travel Overview
Hollow Knight: Silksong features two interconnected fast travel systems: Bellways and Ventrica Stations. Together, they form a network that lets Hornet traverse the vast kingdom of Pharloom quickly once unlocked.

Unlike the Stag Stations in Hollow Knight, Silksong's fast travel requires you to discover and pay to activate most stations before they become usable. The investment is well worth it — Pharloom is significantly larger than Hallownest, and backtracking on foot wastes enormous amounts of time.
How Bellways Work
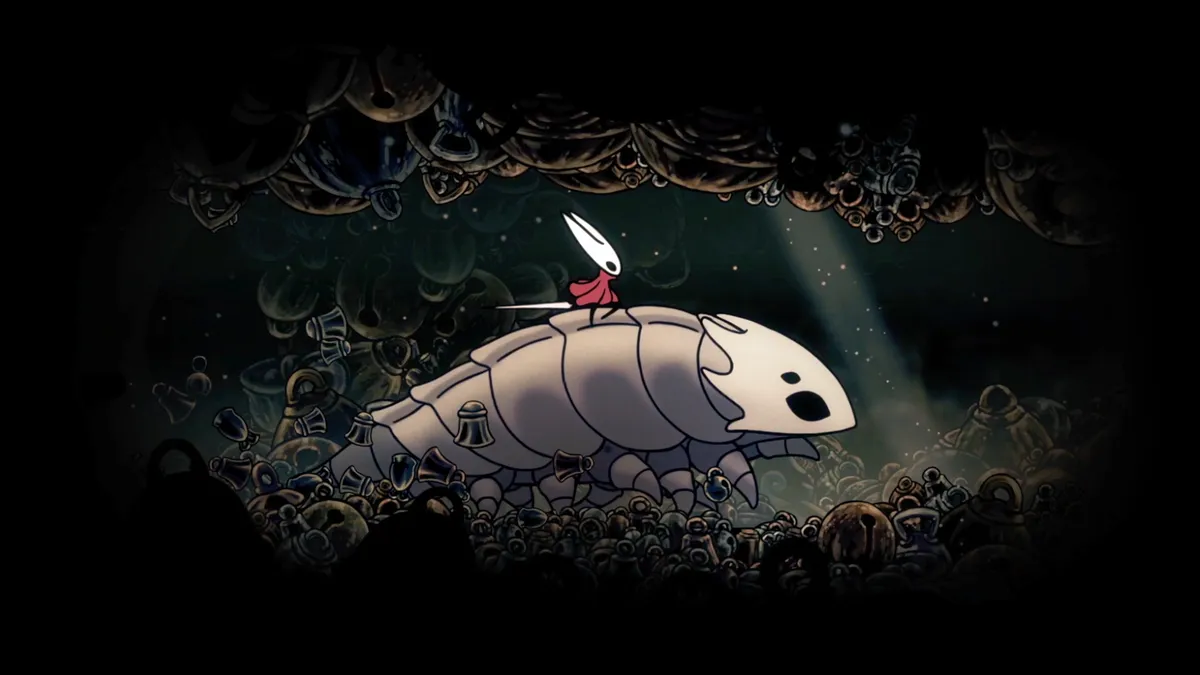
Bellways are underground rail systems powered by Bell Beasts — tamed creatures that carry Hornet between stations. To use the Bellway system:
- Discover the Bellway entrance — marked by signs painted with three arrows
- Pay the toll — most stations cost 30-60 Rosaries to activate
- Select your destination — choose from any previously activated Bellway station
- Ride the Bell Beast — a short animated travel sequence
Once activated, a Bellway station is permanently unlocked and free to use for all future trips.
How Ventrica Stations Work
Ventrica Stations are a secondary fast travel system found primarily in late-game and high-level areas. They function similarly to Bellways but use a separate network — you can only travel between Ventrica Stations, not between a Ventrica and a Bellway.
Ventrica Stations tend to be more expensive to activate but are essential for navigating the deeper regions of Pharloom.
All Bellway Locations
There are 12 Bellway stations across Pharloom. Here's every location, activation cost, and how to reach each one.
1. Bone Bottom Bellway
Area: Bone Bottom Cost: Free (auto-unlocked) How to reach: This is the first Bellway you encounter during the main story. It unlocks automatically after you discover the Bellway system and subdue the Bell Beast in The Marrow.
2. Bellhart Station
Area: Citadel of Bells — Bellhart Cost: 60 Rosaries How to reach: Enter the bell-shaped entrance to the right of the NPC Pavo in the Bellhart town area. Insert 60 Rosaries at the toll machine.
3. Greymoor Station
Area: Greymoor Cost: 30 Rosaries How to reach: Located in the central Greymoor area, near the Halfway Home. Follow the main path left from the Halfway Home bench and drop down to find the station entrance.
4. Mosshome Station
Area: Mosshome Cost: 30 Rosaries How to reach: In the village area, accessible from the lower platforms near the well. Look for the three-arrow sign.
5. The Marrow Station
Area: The Marrow Cost: Free (auto-unlocked) How to reach: Unlocked as part of the Bell Beast taming story sequence. Located near the central crossroads of The Marrow.
6. Wormways Station
Area: Wormways Cost: 30 Rosaries How to reach: Near the entrance to Wormways from the Bone Bottom elevator. The station is in a side room to the left of the main path.
7. Blasted Steps Station
Area: Blasted Steps Cost: 30 Rosaries How to reach: Central area of the Blasted Steps, near the bridge crossing. Requires completing the bridge repair sequence first.
8. Deep Docks Station
Area: Deep Docks Cost: 60 Rosaries How to reach: Near the Lighthouse area. Head east from the Docks entrance bench and follow the lower path.
9. Hunter's March Station
Area: Hunter's March Cost: 30 Rosaries How to reach: Near Shakra's camp where she sells maps for the area. The entrance is partially hidden behind foliage.
10. Lace's Domain Station
Area: Lace's Domain Cost: 30 Rosaries How to reach: In the lower section of the Domain, accessible after defeating Lace for the first time.
11. High Halls Station
Area: High Halls Cost: 60 Rosaries How to reach: Inside the Grand Corridor. The toll machine is behind a locked gate that opens after ringing the second Great Bell.
12. The Cradle Station
Area: The Cradle Cost: Free (auto-unlocked) How to reach: Unlocked during the Act 2 story progression. Located near the Cradle entrance.
Total Bellway activation cost: 360 Rosaries (excluding the 3 free stations)
All Ventrica Stations
There are 5 Ventrica Stations in the deeper regions of Pharloom.
1. Citadel Depths Ventrica
Area: Citadel of Bells — Depths Cost: 60 Rosaries How to reach: Below the main Citadel area. Requires the Dive ability to access the lower tunnels.
2. Wormways Abyss Ventrica
Area: Wormways — Deep section Cost: 60 Rosaries How to reach: At the deepest point of the Wormways. Requires both Dive and Clawline abilities.
3. Far Fields Ventrica
Area: Far Fields (DLC) Cost: 60 Rosaries How to reach: Near the Nameless Town in the Far Fields DLC area.
4. Sea of Sorrow Ventrica
Area: Sea of Sorrow (DLC) Cost: 60 Rosaries How to reach: Accessible after completing the Far Fields main quest chain.
5. The Surface Ventrica
Area: The Surface (DLC) Cost: Free (auto-unlocked) How to reach: Unlocked during DLC story progression.
Total Ventrica activation cost: 240 Rosaries (excluding the 1 free station)
Bellway Pins
Purchase Bellway Pins from Shakra for 60 Rosaries to mark all discovered Bellway and Ventrica stations on your map. Stations you've found but not activated appear as grayed-out icons. This is essential for planning your travel routes.
Efficient Travel Tips
Early Game Route Planning
In the early game, your Bellway access is limited. Prioritize activating these stations first:
- Bone Bottom (free) → Greymoor (30) → Mosshome (30)
- This triangle covers the main early-game areas for just 60 Rosaries
Mid Game Expansion
Once you reach the Citadel, expand your network: 3. Bellhart (60) → The Marrow (free) → Blasted Steps (30) 4. Then Wormways (30) and Hunter's March (30)
Late Game Completion
Finish the network with the expensive stations: 5. Deep Docks (60) → High Halls (60) → The Cradle (free)
General Tips
-
Always activate a Bellway when you find one — even if 60 Rosaries feels expensive, the time saved is immeasurable.
-
Look for the three-arrow signs — these painted signs mark nearby Bellway entrances and are visible from the main paths.
-
Combine with the Bellway Beacon tool — this device creates a temporary fast-travel point wherever you place it, extending your effective travel network.
-
Bellways and Ventrica are separate networks — you cannot travel from a Bellway to a Ventrica Station or vice versa. Plan routes that account for both systems.
-
Some stations require story progress — don't worry if you find a station you can't access yet. Return after advancing the main quest.
-
The Bell Beast ride is not instant — there's a short travel animation. Use this time to check your map and plan your next move.